How to Spray Paint Your Rifle or Carbine
Background
Spray painting rifles has been a common practice for a few decades. Originating in early GWOT/Afghanistan War era, Special Operation units were known to spray paint their M4s and MK18s a layer of tan and brown to help conceal their black weapons against the arid mountainous terrain of Iraq and Afghanistan. Conventional sniper units from the Marine Corps and Army also adopted this SOP, commonly painting their M40 & M24 Sniper Rifles to match the terrain around their sniper hides. Because of its advantages, spray painting service rifles is now a common and widespread practice across all Marine Corps Infantry units.
Why Should I Spray Paint my Rifle?
So why is spray painting your rifle advantageous for you? We’re not Special Operation or conventional military units operating in a combat zone. To answer this question, we must first understand the four-step Decision Making Model introduced by Air Force Colonel John Boyd, also known as the OODA Loop process. OODA Loop is an acronym for Observe, Orient, Decide, & Act. It lays the groundwork for making quick and effective decisions in a dynamic and hostile environment.
By lowering our signature, in this case spray painting your rifle, you lower the possibilities of your adversaries Observing you or, at least, you make them work harder to find you. By delaying the Observe portion of the OODA loop process, you gain additional time to make decisive decisions against your adversaries that could save your life.
Step-by-Step
Step 1: Wipe your rifle down.
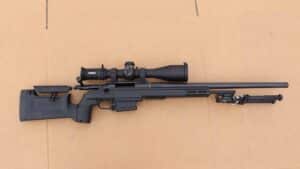
For our example, we will be rattle canning an Aero Precision Solus in 6.5 CM. Before we begin to spray paint our rifle, we want to ensure there is no dirt, dust, or debris stuck to the gun. This will ensure a nice and even coat is applied around all portions of the firearm. I’d recommend doing this with a towel or a microfiber cloth. Make sure your cloth doesn’t leave strands or strings stuck to the rifle.
Step 2: Remove bolt and undesired attachments.
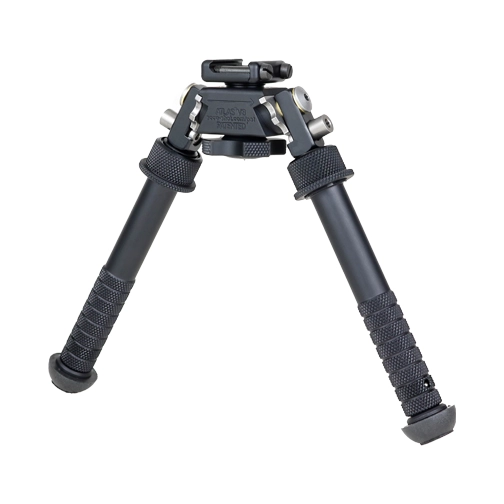
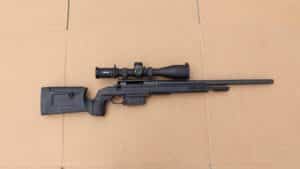
Here, we will remove our bolt and bipod. For bolt action rifles, we really want to avoid getting paint on or in the action. Even a small layer of paint on such a vital piece could affect the rifles performance.
This is also a good step to remove any optics, flashlights, or accessories you don’t want to paint over. For this rifle, I opted to remove the bipod for personal reasons. For any accessories you choose to leave attached to the rifle, I would suggest taping off important portions that relate to the performance of that accessory.
Step 3: Tape off undesired locations.
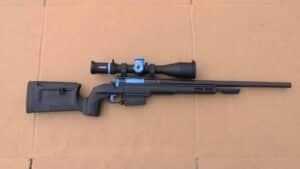
This is one of the most important steps of the entire process. Here, we will ensure no paint will be applied to important pieces of our gun or optics. First, we’ll tape off important notations on our scope. I’ll be taping off a Steiner T6XI 5-30x56mm. For high powered scopes there’s a few areas on the optic we want to cover up with tape.
- Turret Adjustments: We’re going to cover up our Mil or MOA adjustments as well as our witness line for those adjustments. They won’t do us any good if they are covered up by paint. Personal choice, but I also prefer to tape off the top side of the turret where you can read the click values.
- Diopter Adjustments: In the rear of the scope, you should find a “+” and a “-“ notation. These plus and minus signs are for your diopter adjustments. I chose to tape this off in case I need to make adjustments to the diopter and need to reference which way to turn the lens.
- Glass: It goes without saying that we want ZERO paint on the glass of our optic. My example scope has lens covers. If your optic doesn’t, we want to make sure the glass is covered up before moving on.
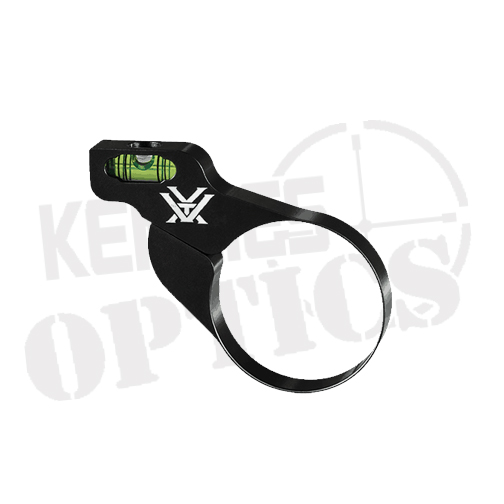
- Bubble Level: Not every rifle has a bubble level attached to the scope. This is one of my precision rifles, so I prefer a bubble level to ensure my data in the reticle is true and level before taking a shot. If you have one, make sure you cover the actual level with tape.
- Ejection Port: For ejection ports, I prefer to slide paper towels in the action to ensure there’s no paint or any drippage that can leak in the action or chamber. After I’ve slid some paper towels in there, I tape it off.
- Trigger: This is a personal preference. Technically, I could spray paint over this trigger, but I prefer to just tape it off to ensure the triggers functionality remains the same.
- Bore: We certainly do not want paint in our barrel, so make sure the bore end of the barrel is covered up with tape.
- Magwell: This time, I’ll be leaving a magazine inserted to cover the magwell. I’ve found this to be the most effective method. If you don’t want to spray your magazine, make sure to tape the magwell off to keep paint out of it.

Step 4: Spray your basecoat.
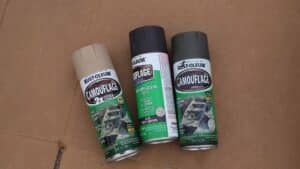
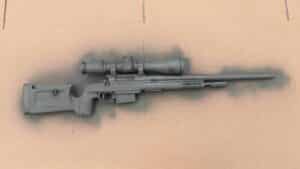
Here’s the fun part. Now that we have all the important information and components covered with tape, we can apply our basecoat of paint. Today, I’ll be using a dark green coat from one of the Rust-Oleum camo cans. I’ve found Rust-Oleum to be the best choice of spray paint cans for firearms. Basecoats are going to be the most prominent color of your rifle, so make sure you’re choosing a color that matches your area well.
We don’t want a super heavy basecoat, so spray over the firearm with short bursts of paint until it is completely covered.
Step 5: Add vegetation accents.
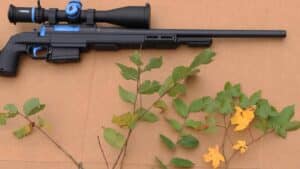
This step is just as important as the basecoat. Adding vegetation accents help conceal the rifle and refrains from making it look like a green ‘blob’. This step should be started only after your basecoat is completely dry.
Walk around your shooting area and grab some branches off trees. I prefer to use branches with some leaves for maximum effectiveness.
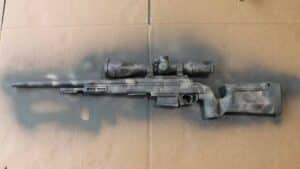
It’s your choice what color you want to use for vegetation accents. I am going to use tan to help break up this dark green. Later, I’ll add a few stripes of brown to blend everything together. Just like the basecoat, we only want short and controlled bursts of paint over our vegetation. This helps create a blended look.
Step 6: Remove tape and inspect.
Lastly, we’ll remove the tape and inspect our paint job. If you removed components of the firearm, this is a good point to do a functions check to ensure everything’s working properly. If you find an area that you intended to cover has been hit by paint, I recommend taking a q-tip and some brake cleaner and lightly dab the affected area. Then wipe the paint away with a clean paper towel. Congratulations, you’ve spray painted your rifle!

By: Jake Davidson, Kenzie’s Optics Marketing
